The Napari Assistant
The Napari Assistant#
The Napari Assistant is a plugin for napari that allows you setting up an image processing workflow.
This tutorial is also available as video napari-assistant.mp4.
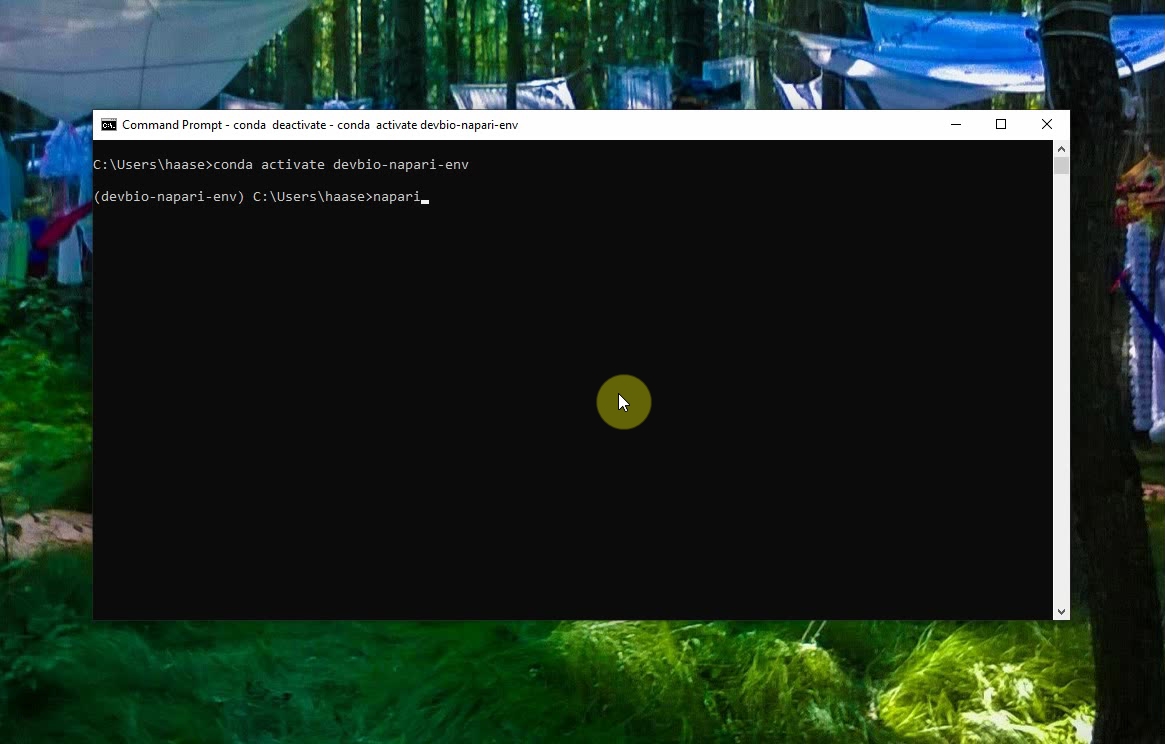
Start napari from the command line like this:
conda activate devbio-napari-env

napari
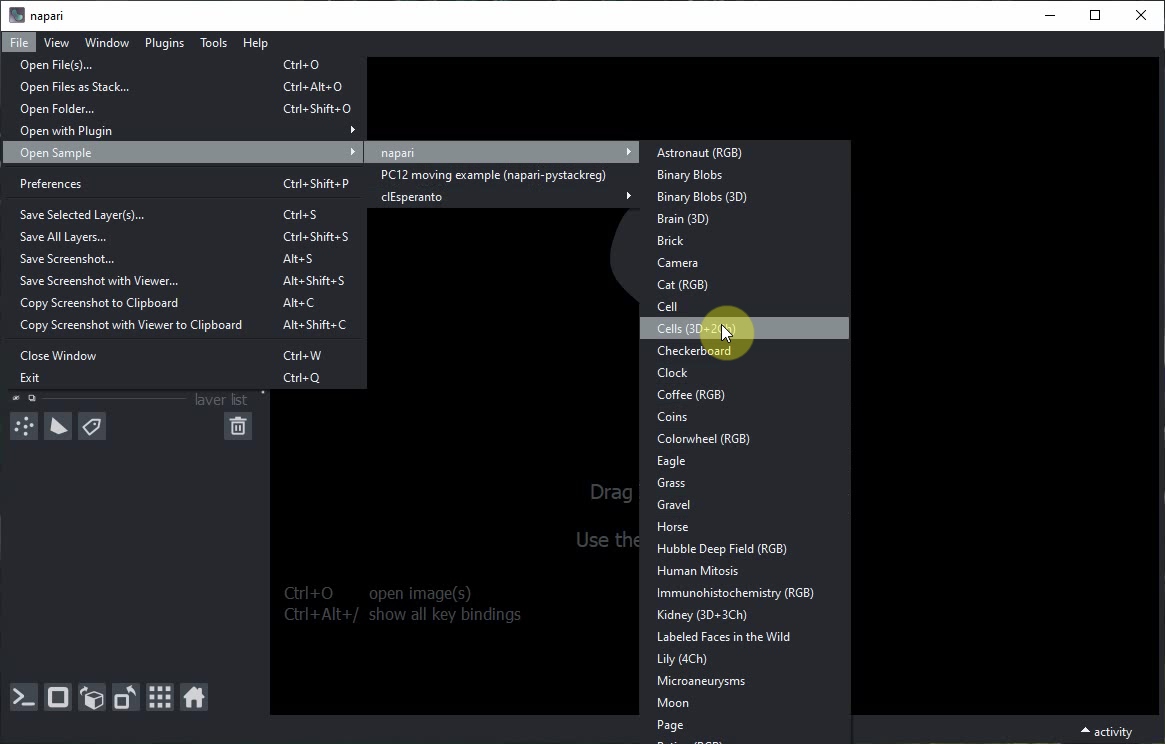
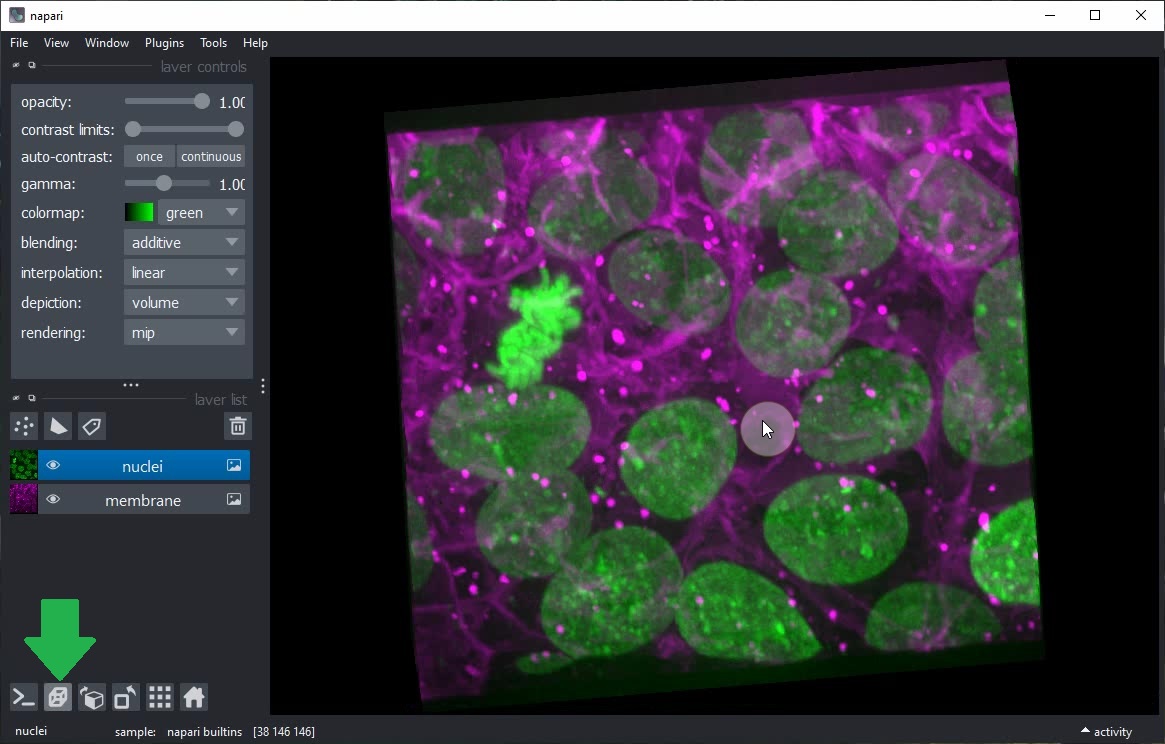
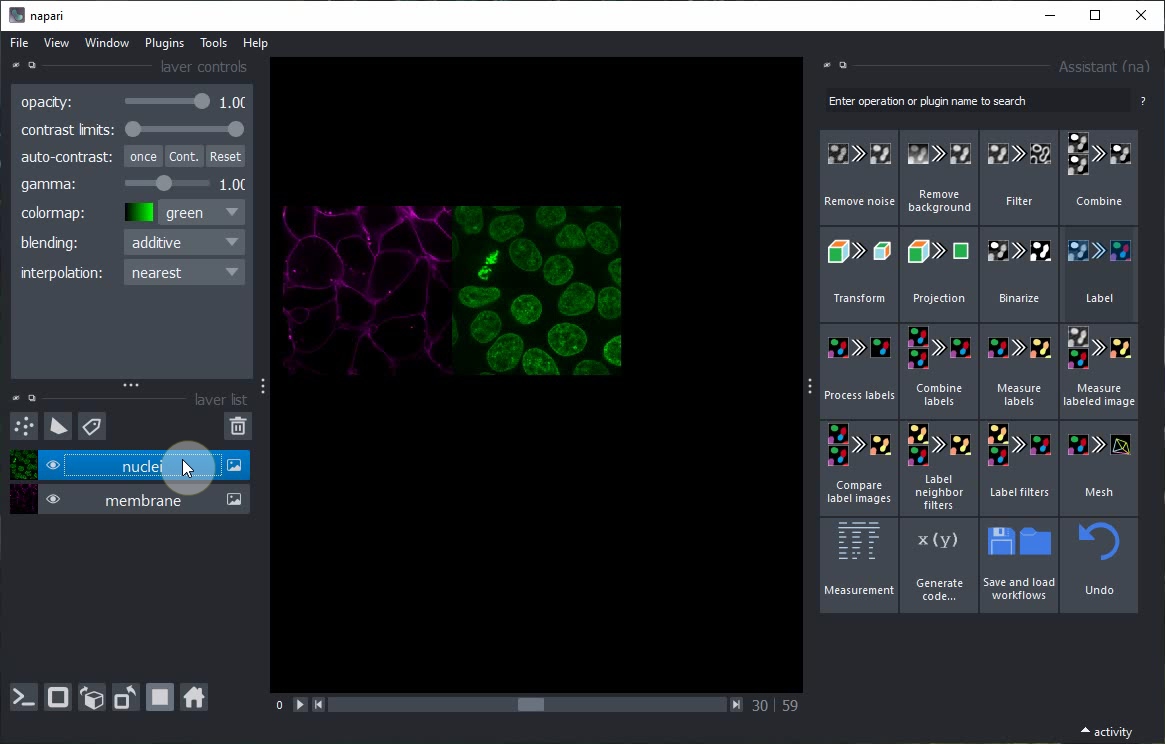
The napari window will open. Click on the menu File > Open Samples Cells(3D+2Ch) to open an example image.
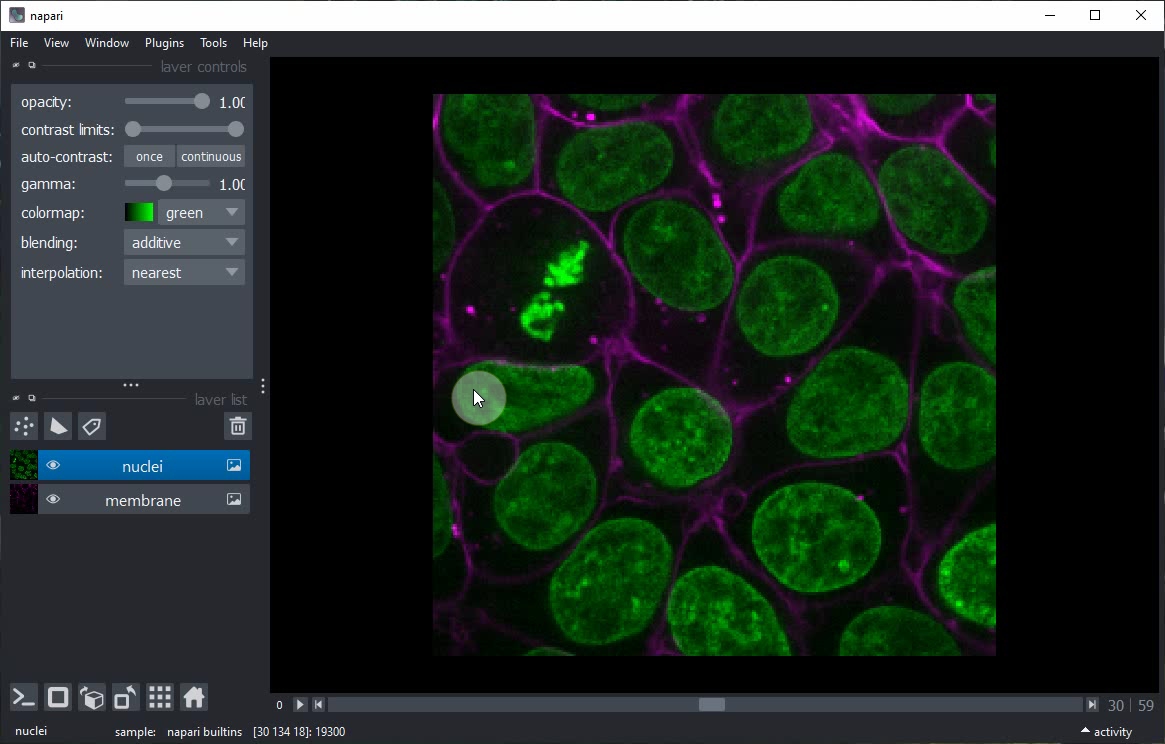
You can explore this dataset by clicking on the 2D/3D view button.
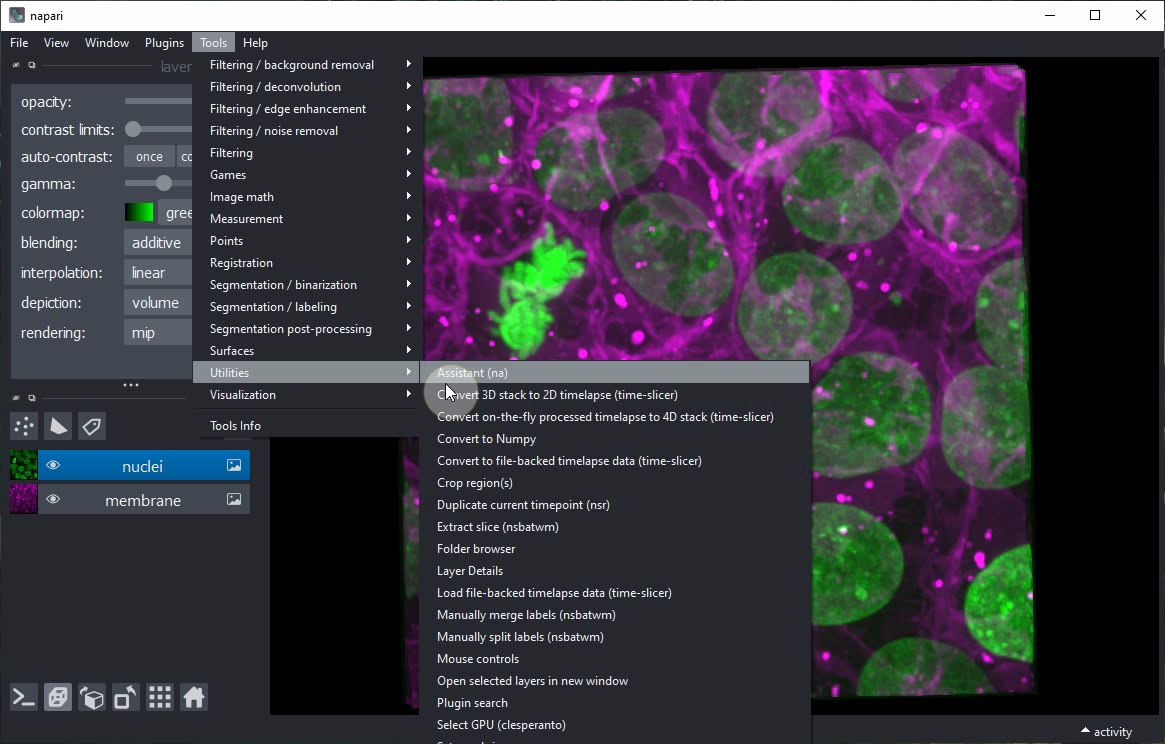
Start the Napari Assistant from the Tools > Utilities > Assistant (na) menu.
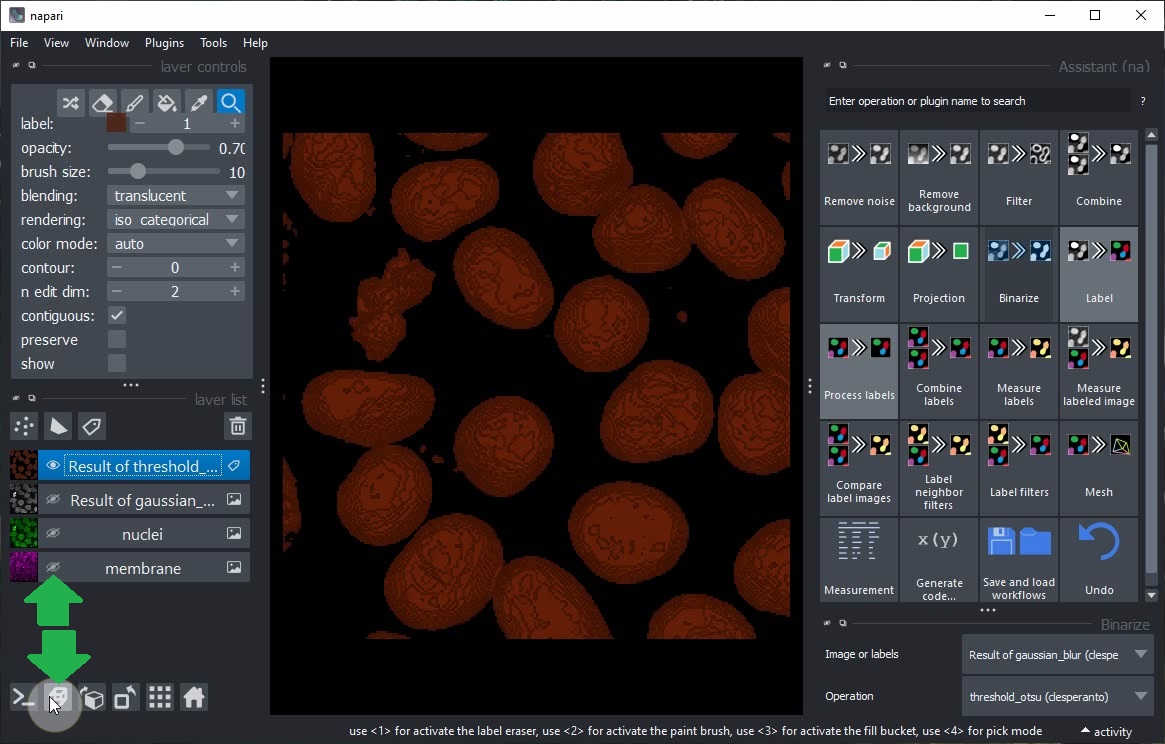
Within the Assistant panel, click on the Remove noise button.
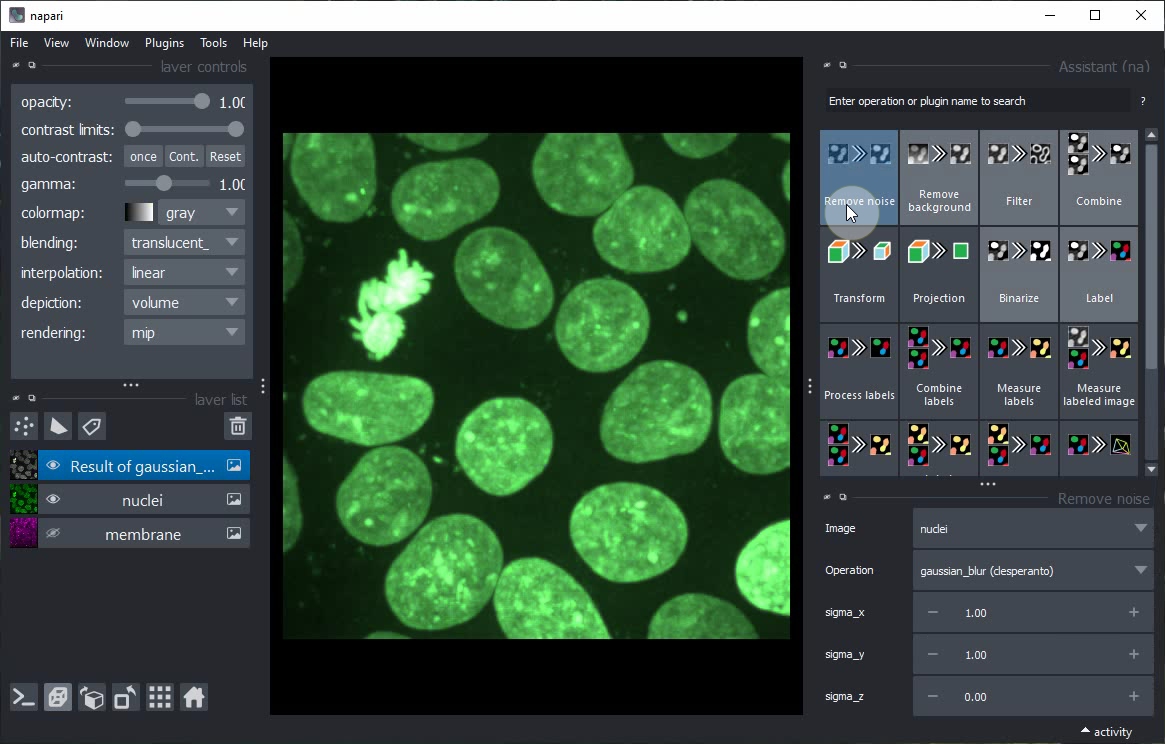
Click on the Eye buttons in the layer list to hide the original image and show the result of the Remove noise step only.

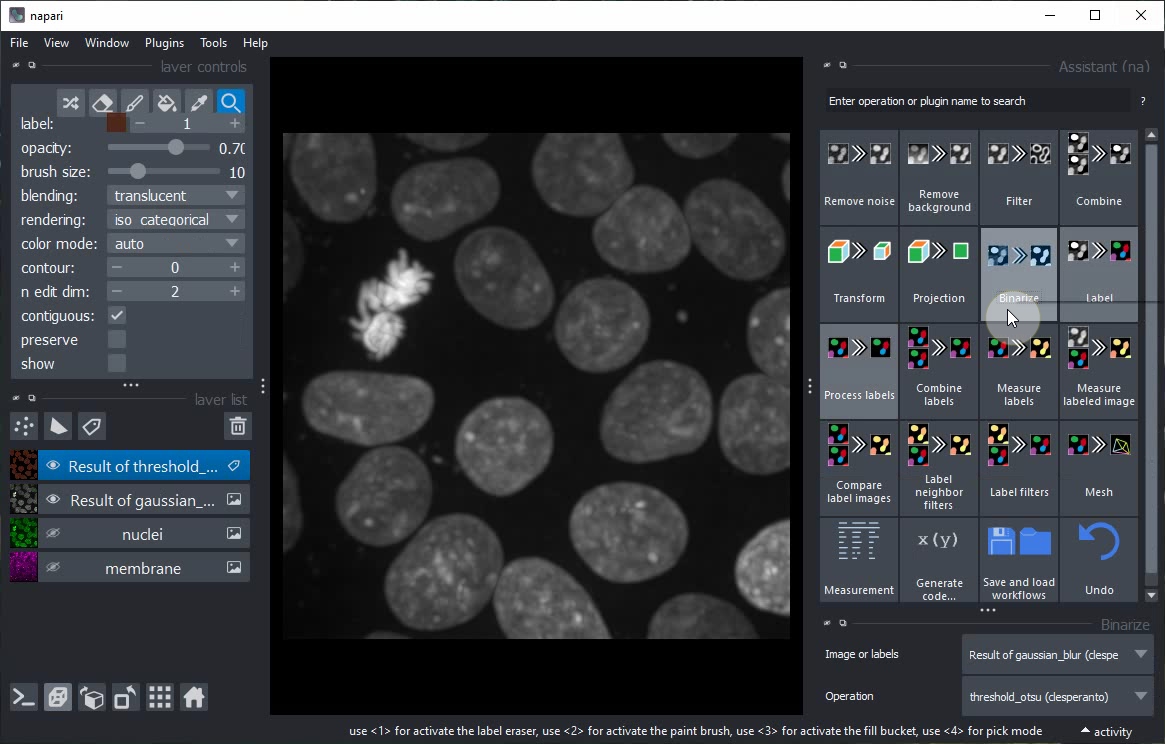
Click on the Binarize button in the Assistant panel to add a new step to the workflow that generates a binary image from the current layer.
Toggle 2D/3D view and layer visibility to explore the result of the Binarize step.
After switching back to 2D view, click the Label button in the Assistant and choose the operation Connected component labeling (clEsperanto).

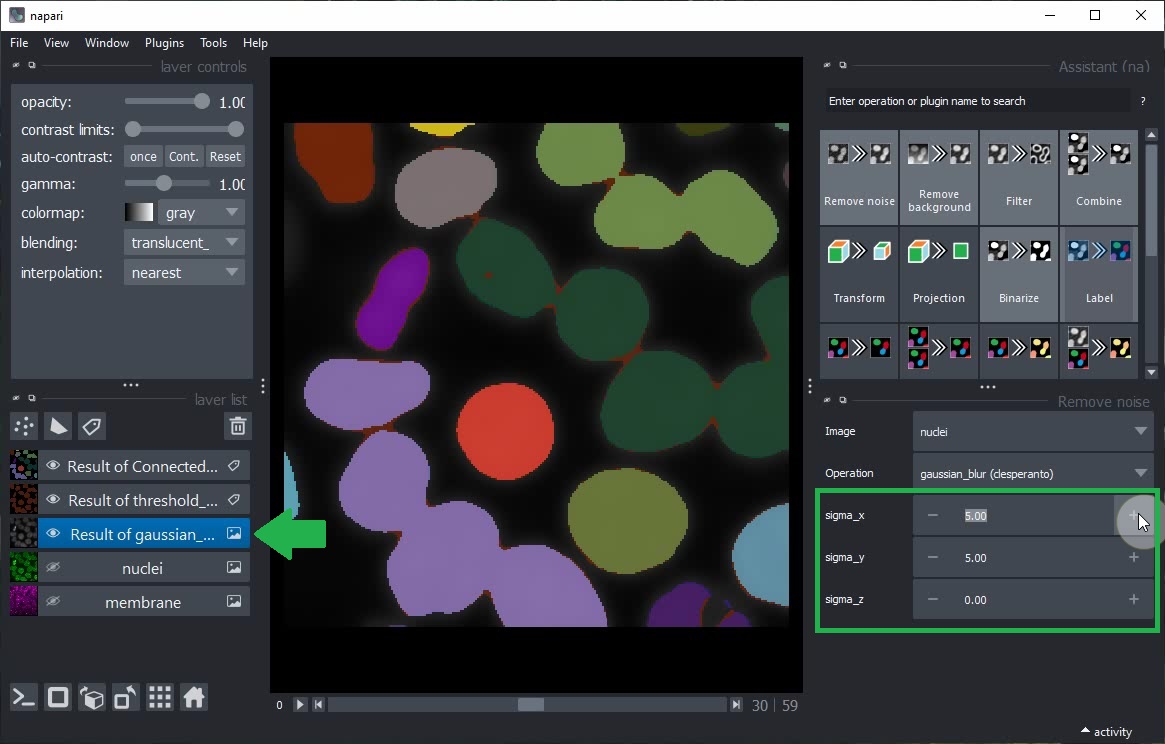
Select the Result of gaussian_blur layer in the layer list and modify its sigma parameters. You will note that the subsequent steps (Threshold Otsu and Connected Component Labeling) are also updated.
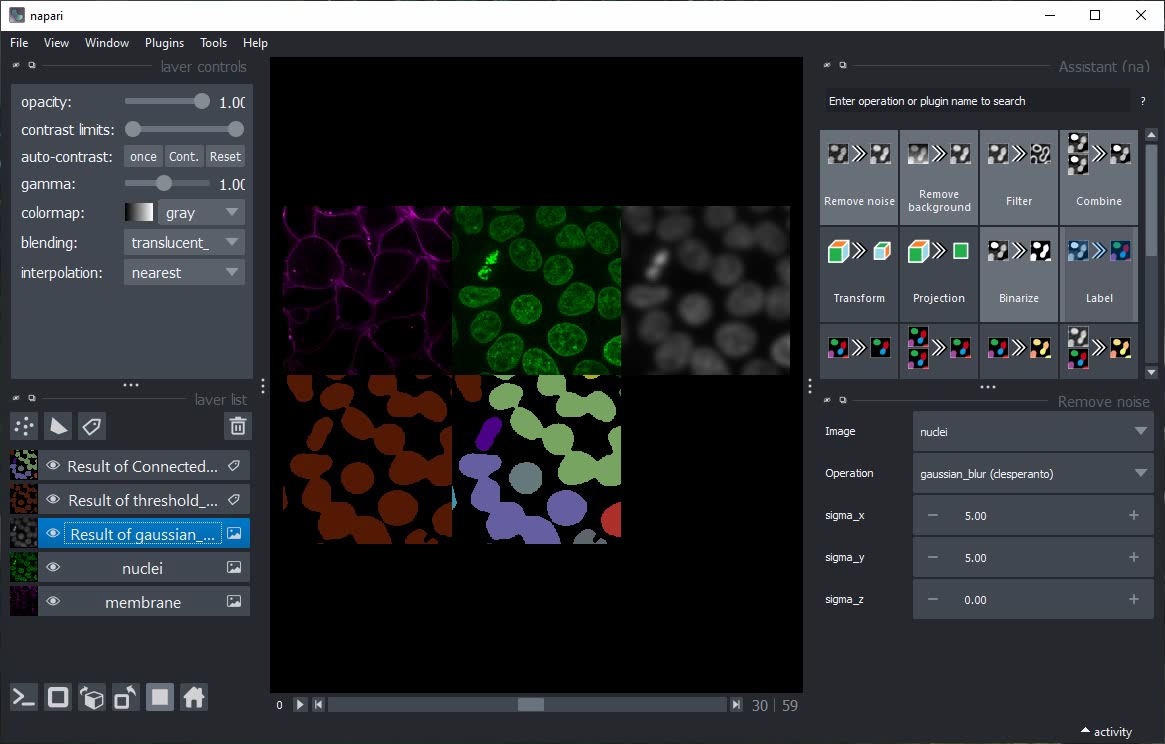
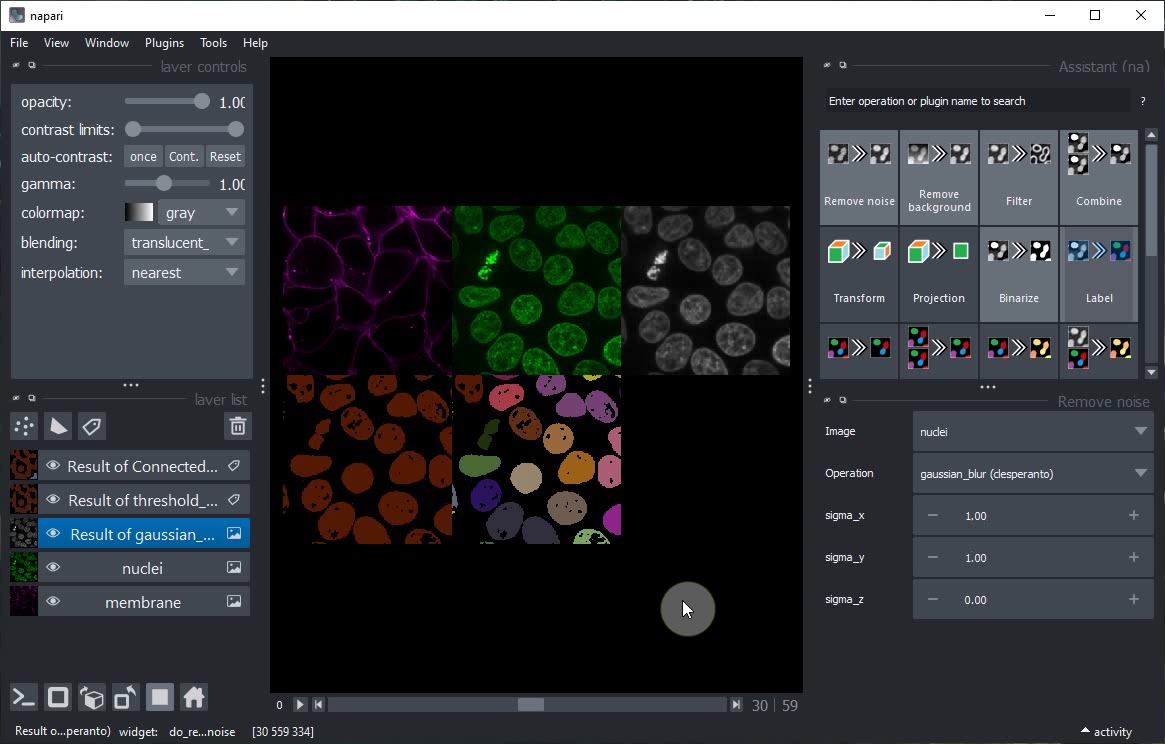
Switch to grid view, show all layers using their Eye buttons and continue modifying the parameters.
Close all layers except nuclei and membrane.
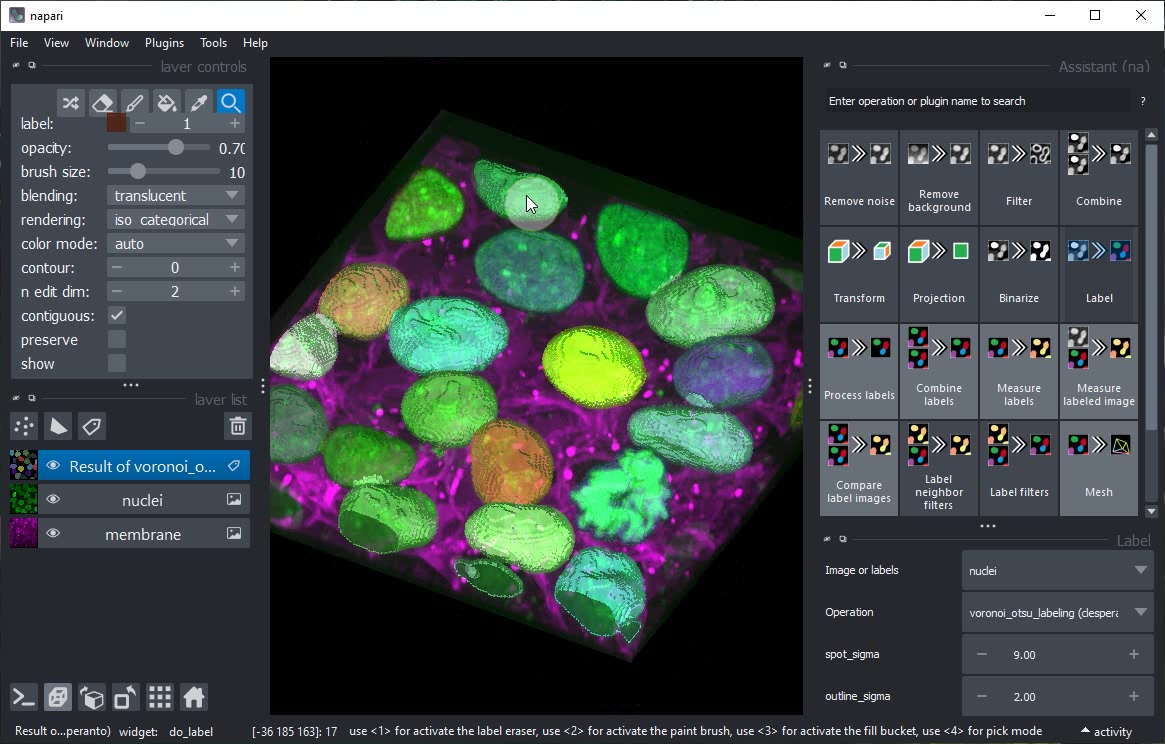
Turn of Gridview and click again on the Label button in the Assistant.
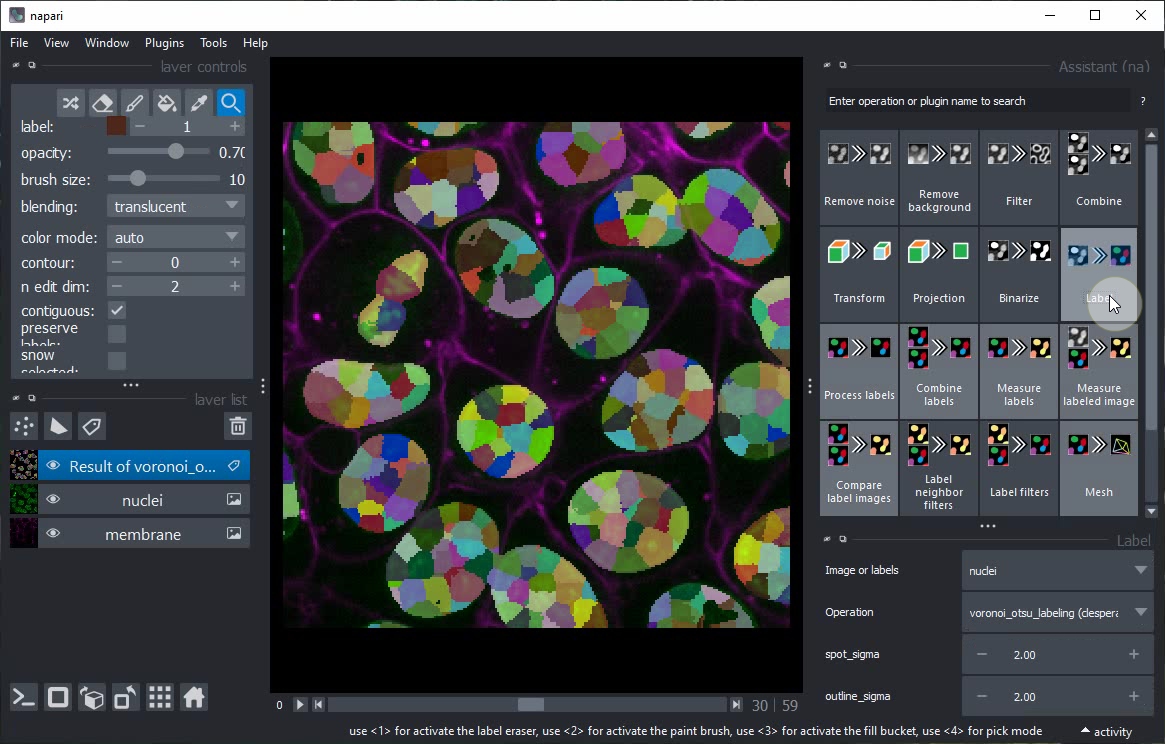
This time, do not change the operation but the spot_sigma parameter instead.
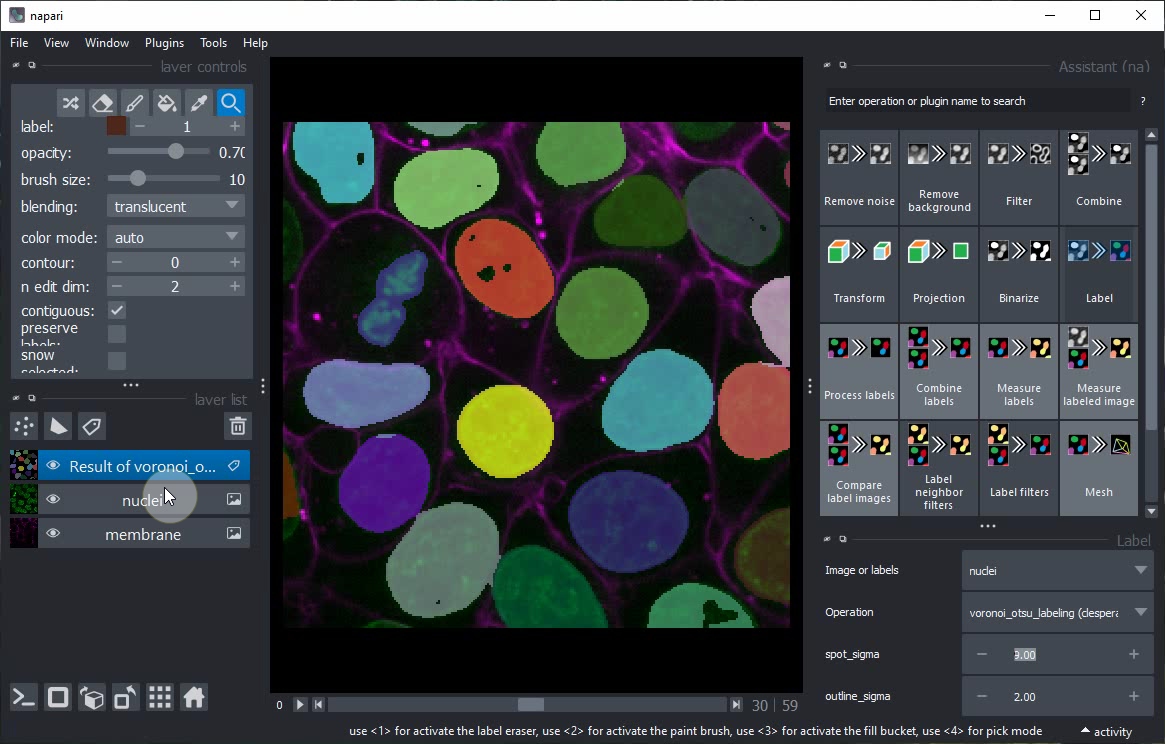
Toggle again to 3D view and inspect the result of this single step.