GPU-accelerated image processing in the cloud using Google Colab and clEsperanto#
Robert Haase, June 5th 2021
Not every computer has a powerful graphics processing unit (GPU) and thus, it might make sense to use cloud computing, e.g. provided by Google. In this blog post I give a short intro into Google Colab and how to enable GPU-accelerated image processing in the cloud using clEsperanto.
See also
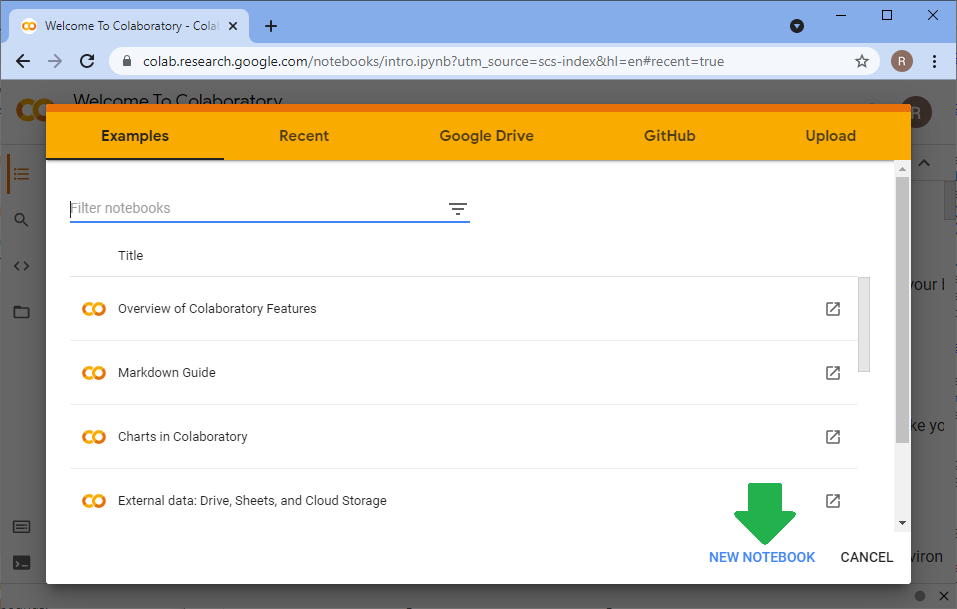
Step 1: Create a new notebook#
Go to https://colab.research.google.com/
and click on New Notebook
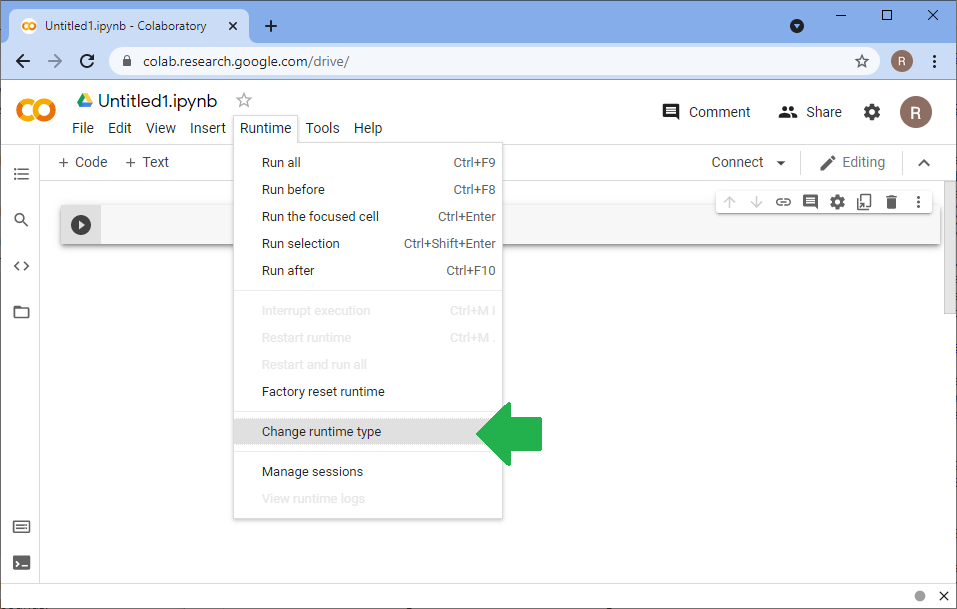
Step 2: Activate access to a GPU#
In the Runtime menu, click on Change runtime type
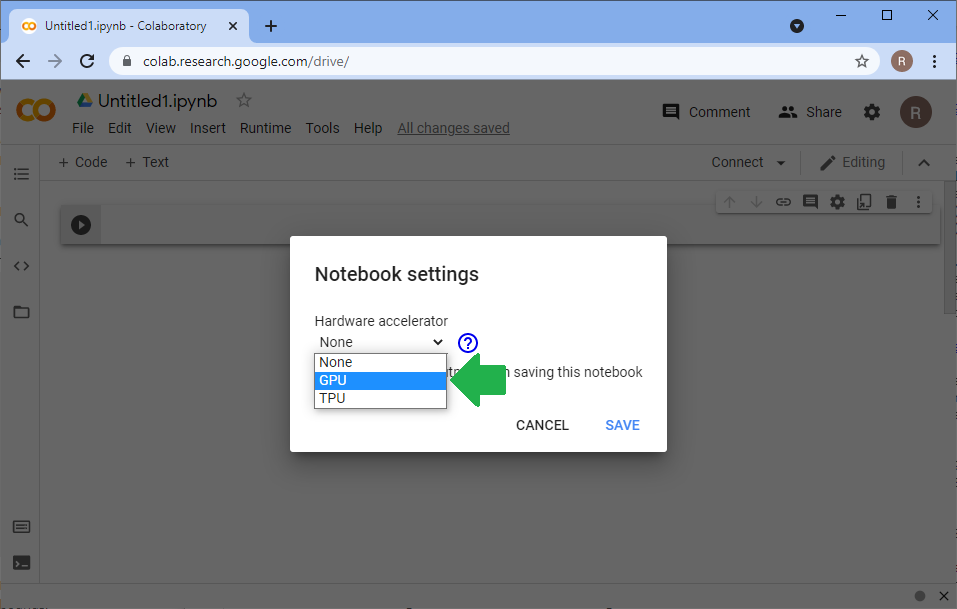
The dialog allows you to select hardware accelerators. Select GPU and click on Save.
Step 4: Install pyclesperanto#
For installing pyclesperanto, enter this code in a cell and hit SHIFT-ENTER.
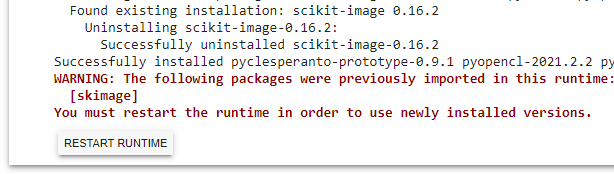
!pip install pyclesperanto_prototype
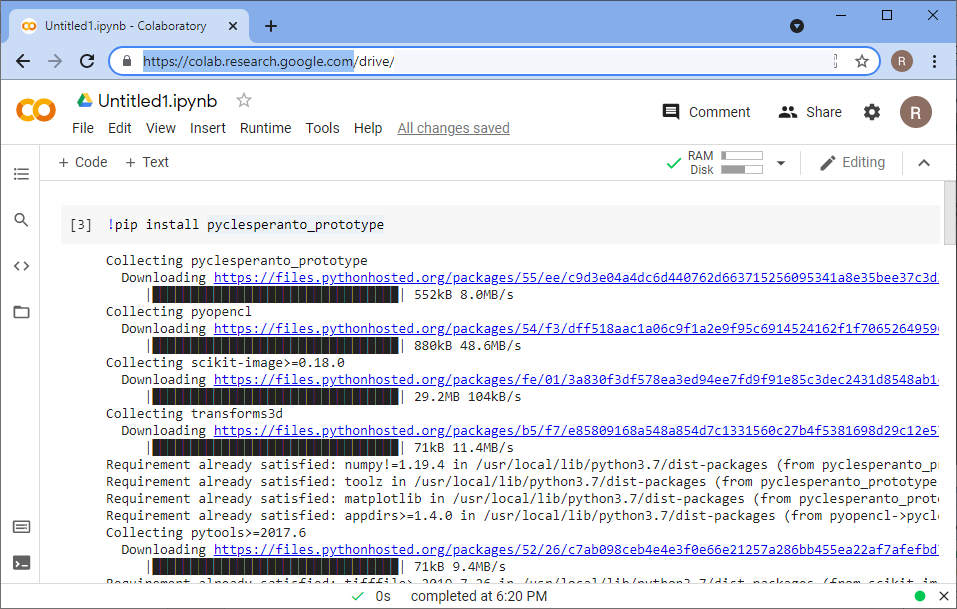
After installation, you may read a message asking you to restart your kernel. If so, click on ‘Restart Runtime’.
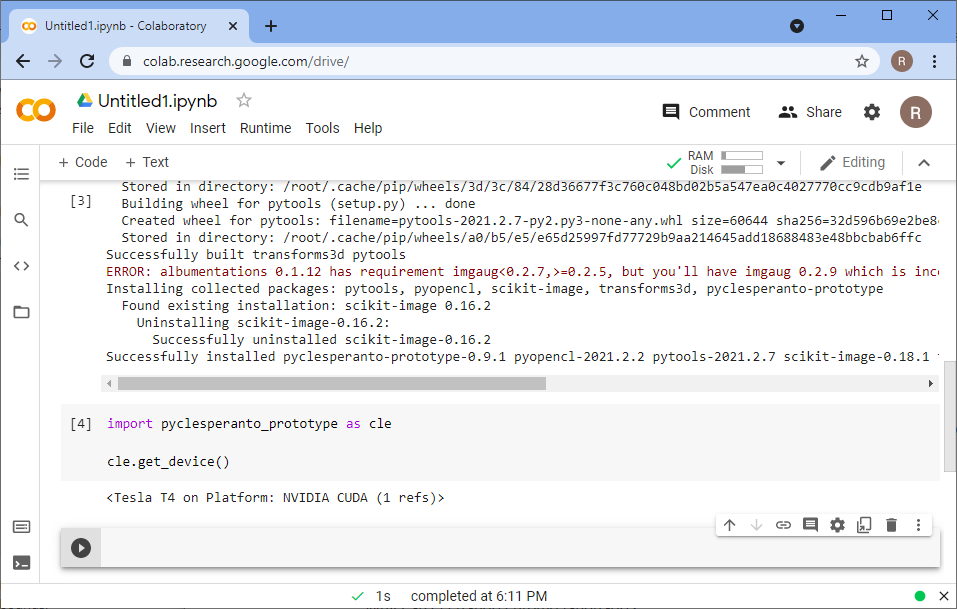
Afterwards, test the installation by printing out which GPU-device is selected:
import pyclesperanto_prototype as cle

cle.get_device()
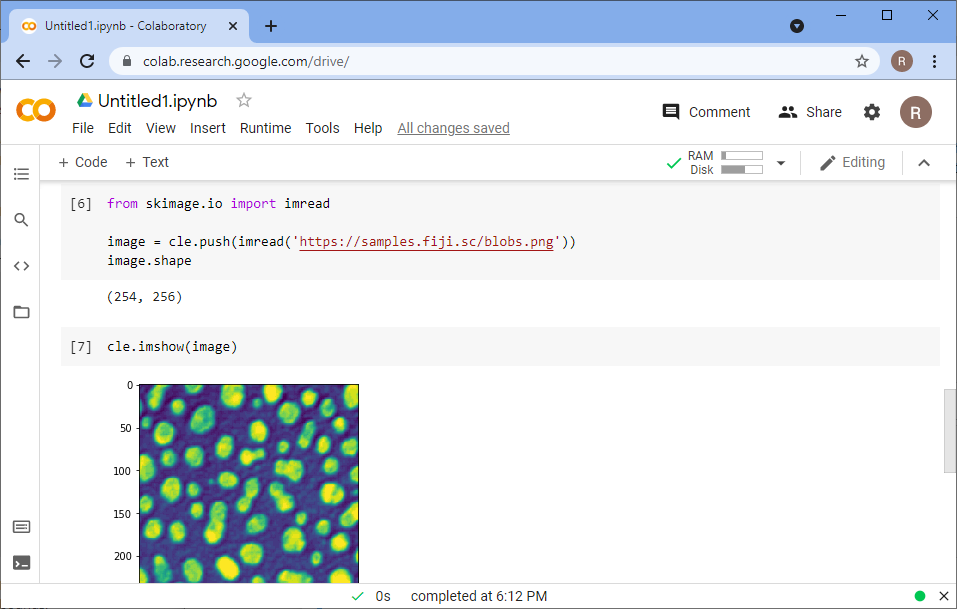
Step 4: Testing image processing#
For processing an image, we use scikit-image to load it from the cloud first
from skimage.io import imread

image = cle.push(imread('https://samples.fiji.sc/blobs.png'))
image.shape
and clesperantos’ imshow function to visualize it:
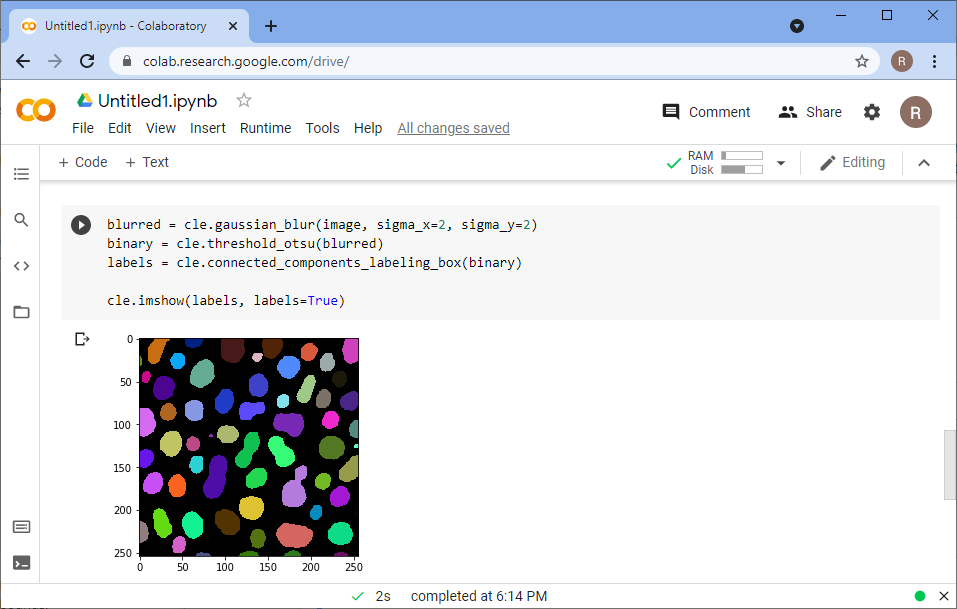
An image processing workflow using the GPU looks for example like this:
blurred = cle.gaussian_blur(image, sigma_x=2, sigma_y=2)
binary = cle.threshold_otsu(blurred)
labels = cle.connected_components_labeling_box(binary)
Label images can be visualized with cle.imshow as well by providing the parameter labels=True.
cle.imshow(labels, labels=True)
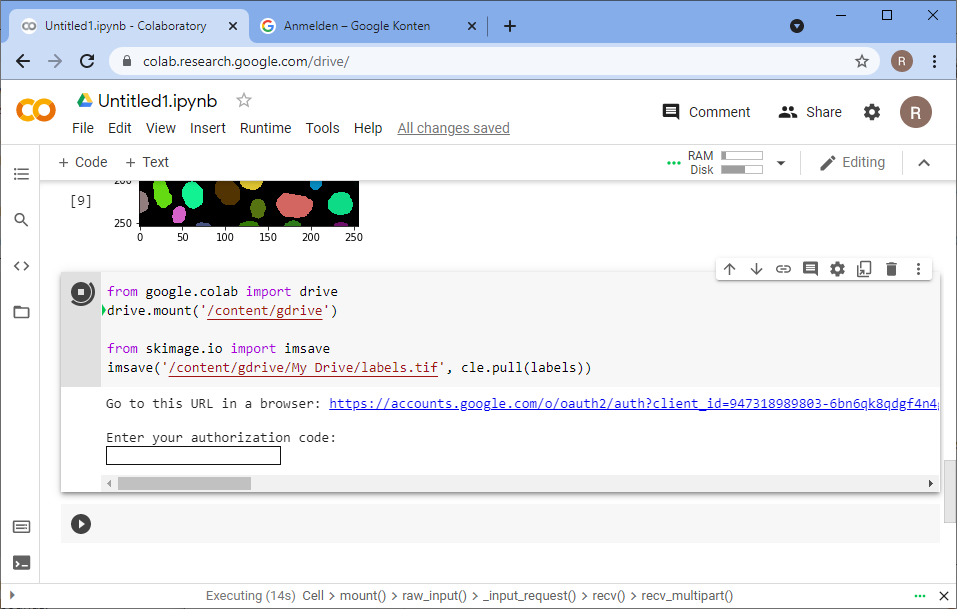
Step 5: Connecting google drive#
For saving image processing results to our google drive, we need to connect to it:
from google.colab import drive
drive.mount('/content/gdrive')
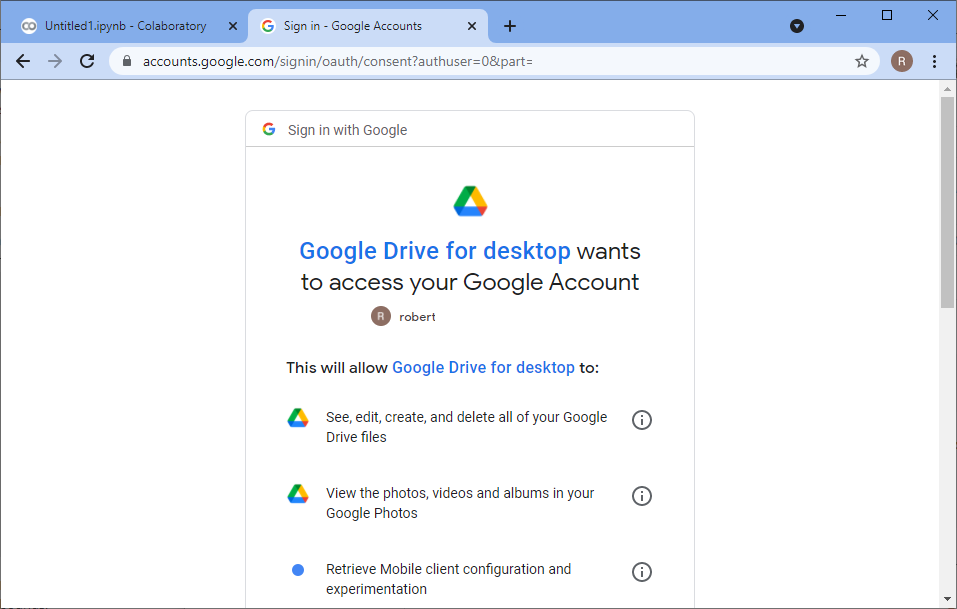
The procedure involves creating an authorization code.
In order to generate it, click on the provided link and follow the instructions.
Give access to your Google drive to Google Colab:
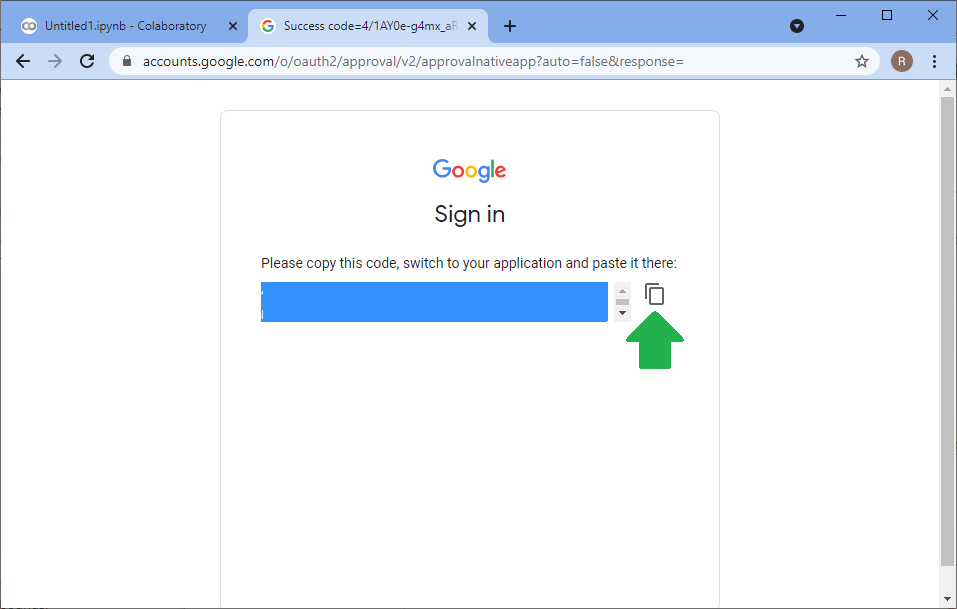
 Afterwards, copy the authorization code by clicking the
 copy to clipboard button
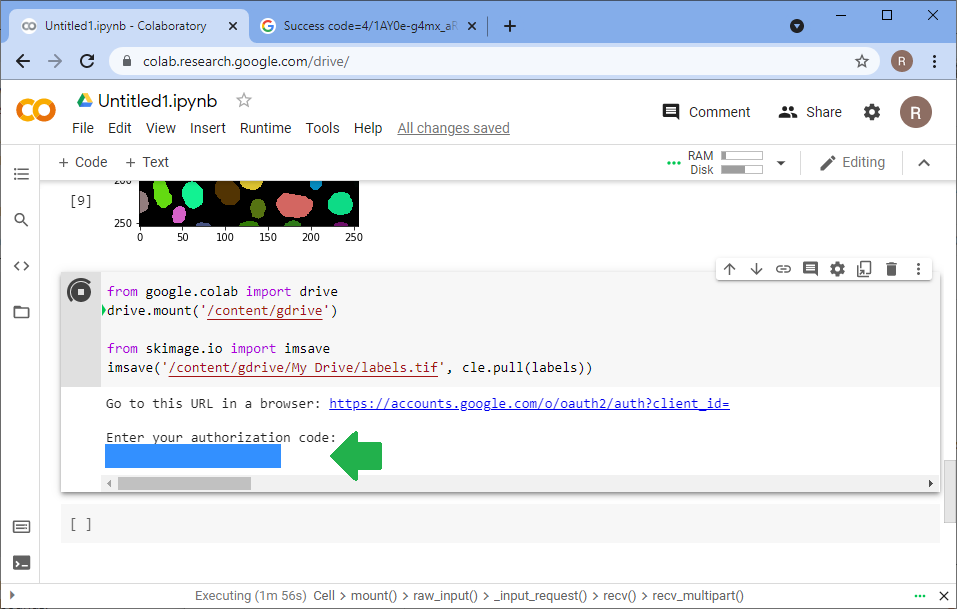
 and paste the code in the respective field in your notebook:
 After the connection was established successfully, you can save to your google drive like this:
from skimage.io import imsave
imsave('/content/gdrive/My Drive/labels.tif', cle.pull(labels))
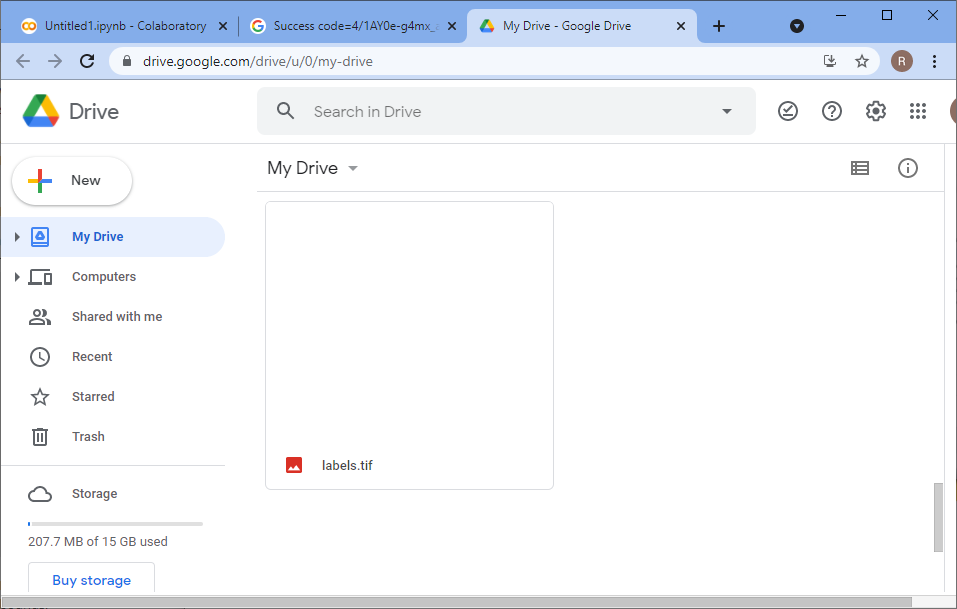
You will then see the saved file in your google drive:
Hints#
How much memory does my GPU have?#
You can read how much memory is available from the device object. Divide the value three times by 1024 to get the amount of memory in giga bytes.
dev = cle.get_device()
dev.device.global_mem_size / 1024 / 1024 / 1024
How much memory is currently in use?#
If you are using an NVidia GPU, you can the NVidia System Management Interface:
!nvidia-smi
It will give an overview about what’s currently going on on your GPU:
+-----------------------------------------------------------------------------+
| NVIDIA-SMI 465.27       Driver Version: 460.32.03    CUDA Version: 11.2     |
|-------------------------------+----------------------+----------------------+
| GPU  Name        Persistence-M| Bus-Id        Disp.A | Volatile Uncorr. ECC |
| Fan  Temp  Perf  Pwr:Usage/Cap|         Memory-Usage | GPU-Util  Compute M. |
|                               |                      |               MIG M. |
|===============================+======================+======================|
|   0  Tesla T4            Off  | 00000000:00:04.0 Off |                    0 |
| N/A   63C    P0    30W /  70W |    106MiB / 15109MiB |      0%      Default |
|                               |                      |                  N/A |
+-------------------------------+----------------------+----------------------+

+-----------------------------------------------------------------------------+
| Processes:                                                                  |
|  GPU   GI   CI        PID   Type   Process name                  GPU Memory |
|        ID   ID                                                   Usage      |
|=============================================================================|
+-----------------------------------------------------------------------------+
Disclosure#
When reading this blog post, please have in mind that I’m one of the core developers of clesperanto. I may be biased on the one side and even more interested on feedback on the other side.
Acknowledgements#
I would like to thank Florian Jug and Wei Ouyang for introducing me to Google Colab and showing me tips and tricks.