Generating Jupyter Notebooks from the Napari Assistant#
After setting up a workflow using the Napari Assistant, we can export Python code, e.g. as Jupyter Notebook.
This tutorial is also available as video export_notebooks.mp4
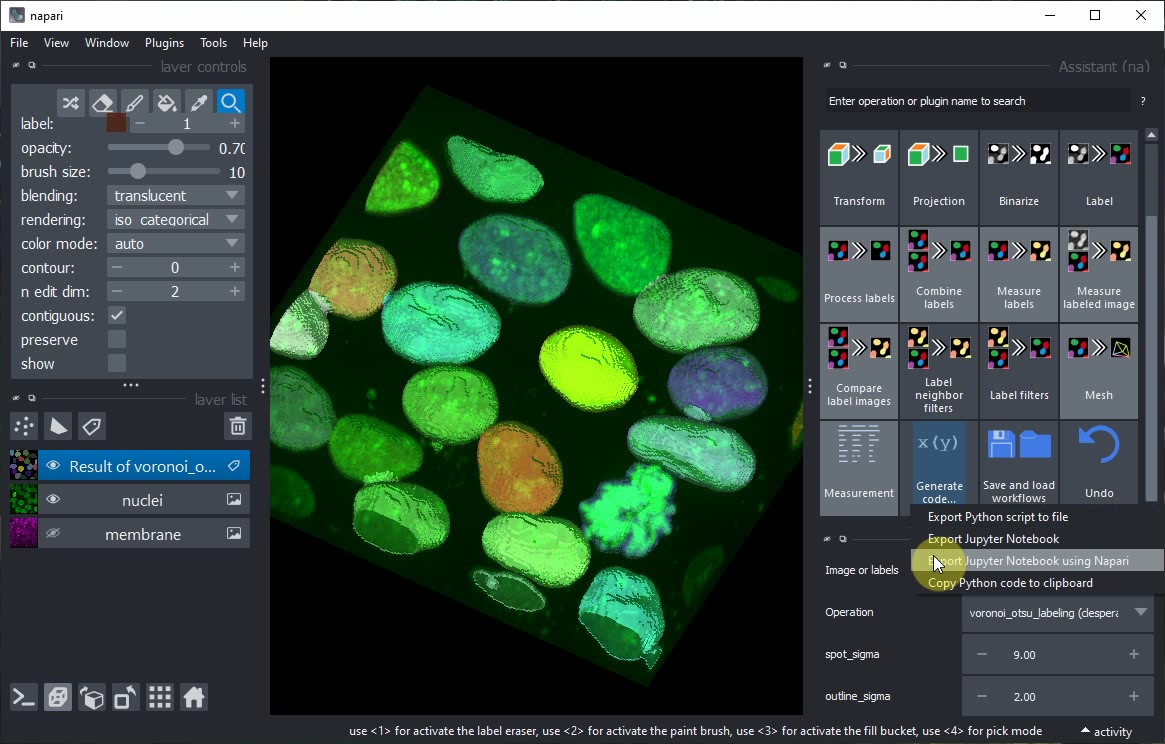
In the Assistant panel, click on the Generate Code... button and the Export Jupyter Notebook using Napari menu.
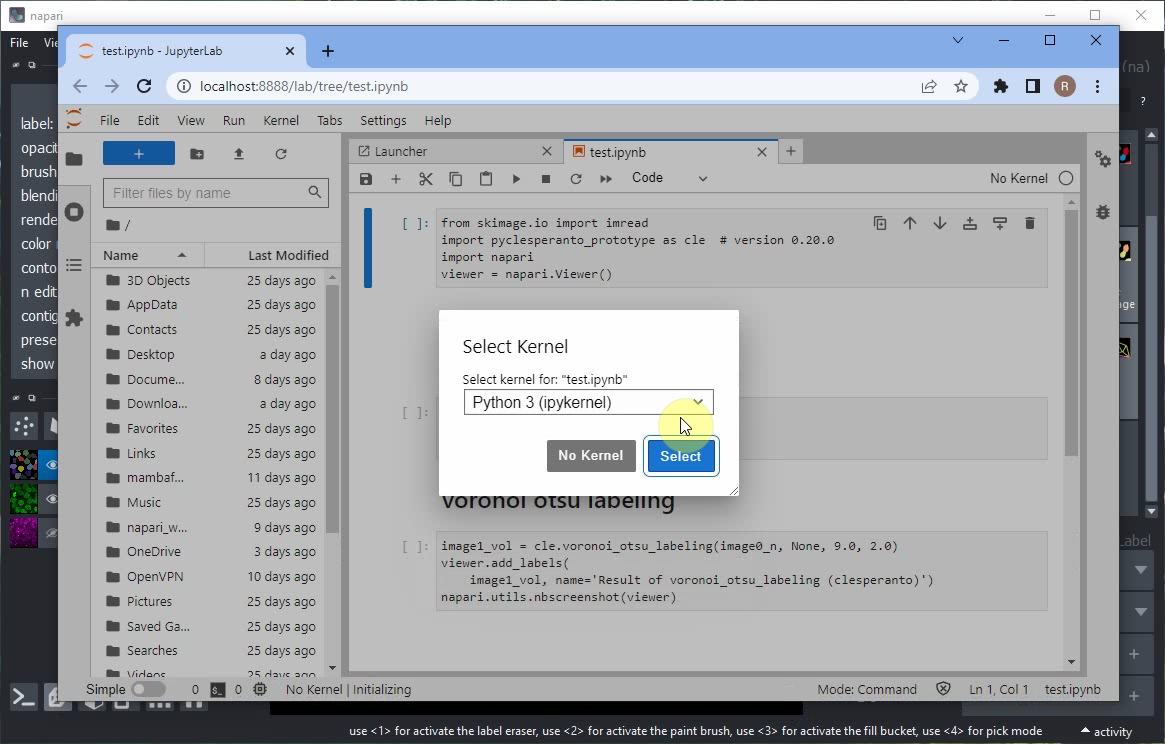
Jupyter lab will open and ask you to select a Kernel. Keep the default option and click on Select.
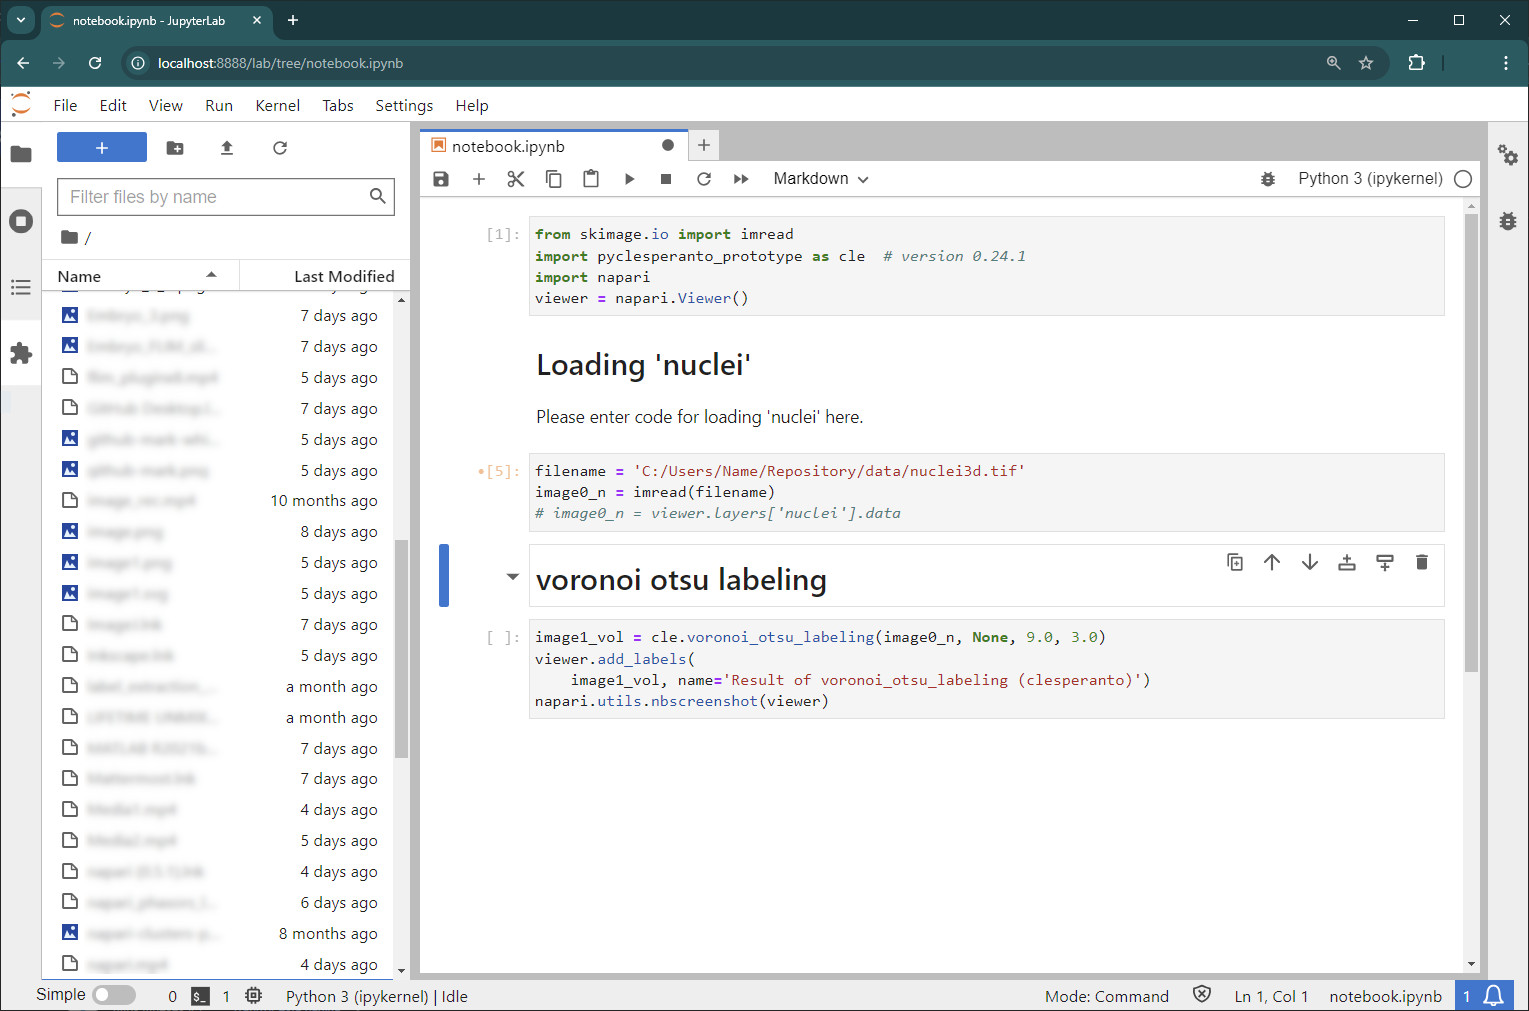
When executing the notebook, errors may appear, e.g. when loading the data.
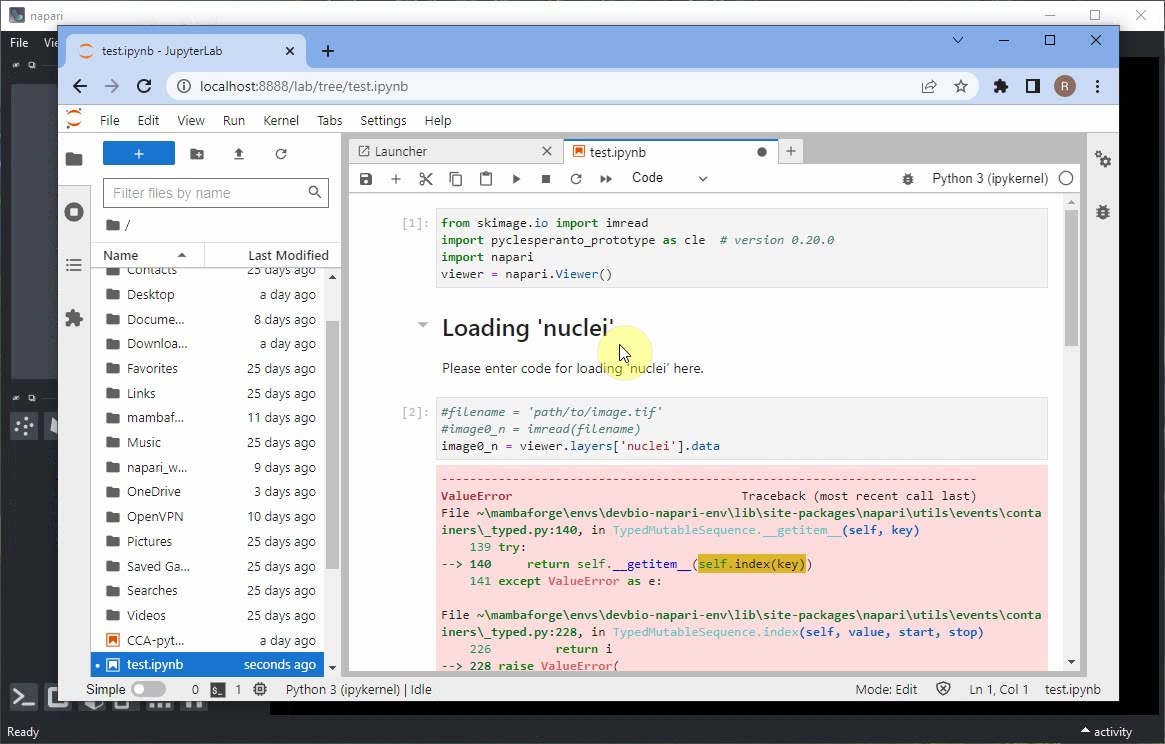
Scroll down to the end of the error message to read what didn’t work.
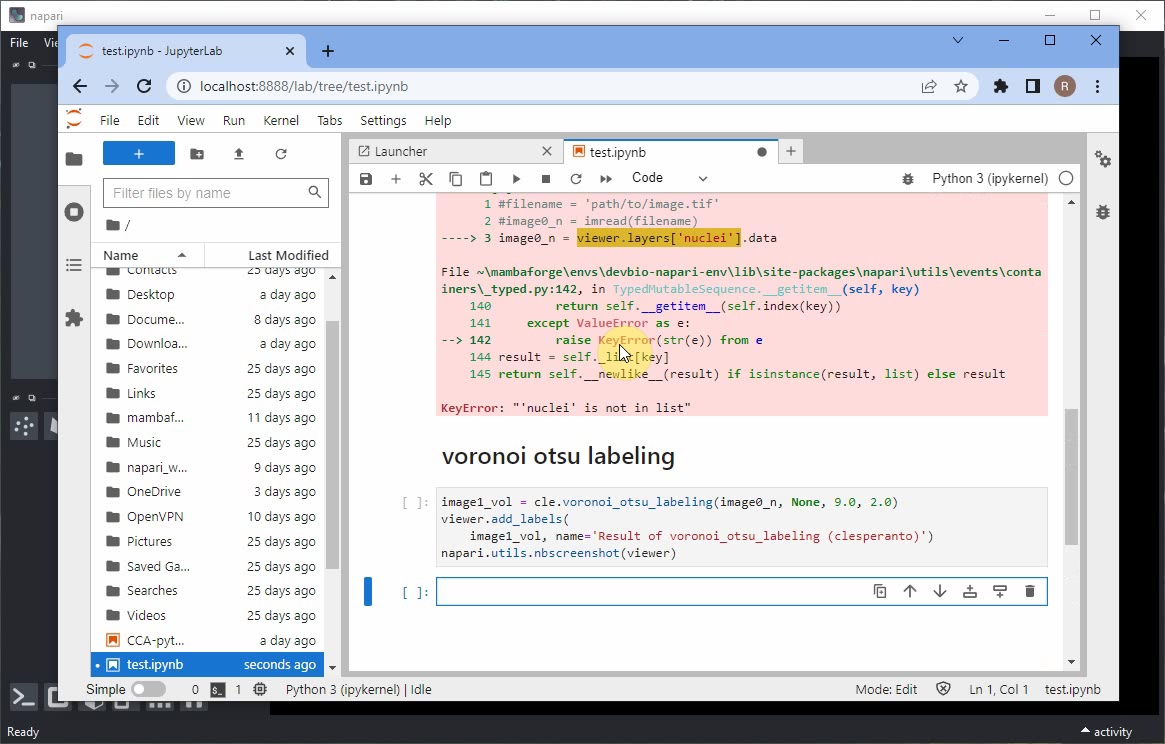
Scoll up again to the notebook cell that didn’t work and modify the code so that it uses the imread function to load the image from disc. This means removing the # symbol to uncomment the 2 first lines of code, replacing the path ''path/to/image.tif'' by the local path to the image (use forward slashes / intead of backslashes \), and commenting the last line of code, as shown below. If you cloned this repository, the image can be found in the data folder as nuclei3d.tif.
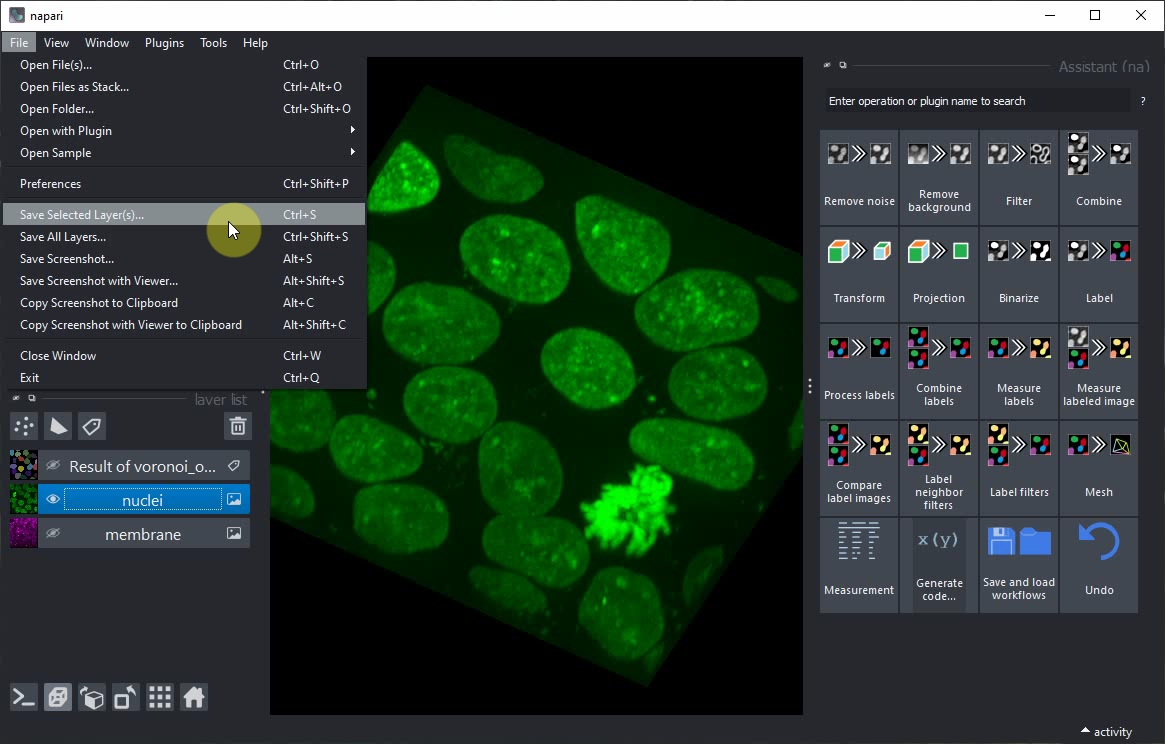
In case you don’t have the nuclei image saved on disc already, use the menu File > Save current Layer(s) to save the nuclei layer as .tif file.
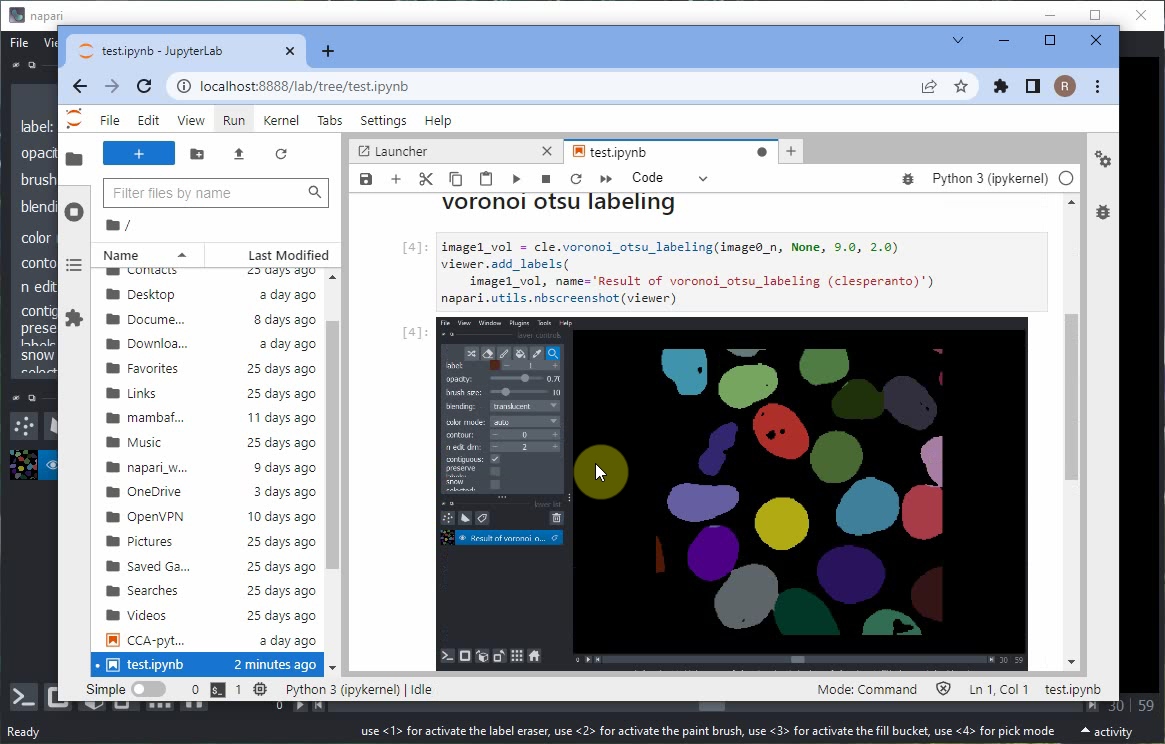
Afterwards, rerun the notebook and inspect the result. The Napari viewer that opened in the background will also be shown within the notebook.
If you also want to view the raw image data together with the segmentation result, add these lines to your code:
viewer.add_image(image0_n)
napari.utils.nbscreenshot(viewer)
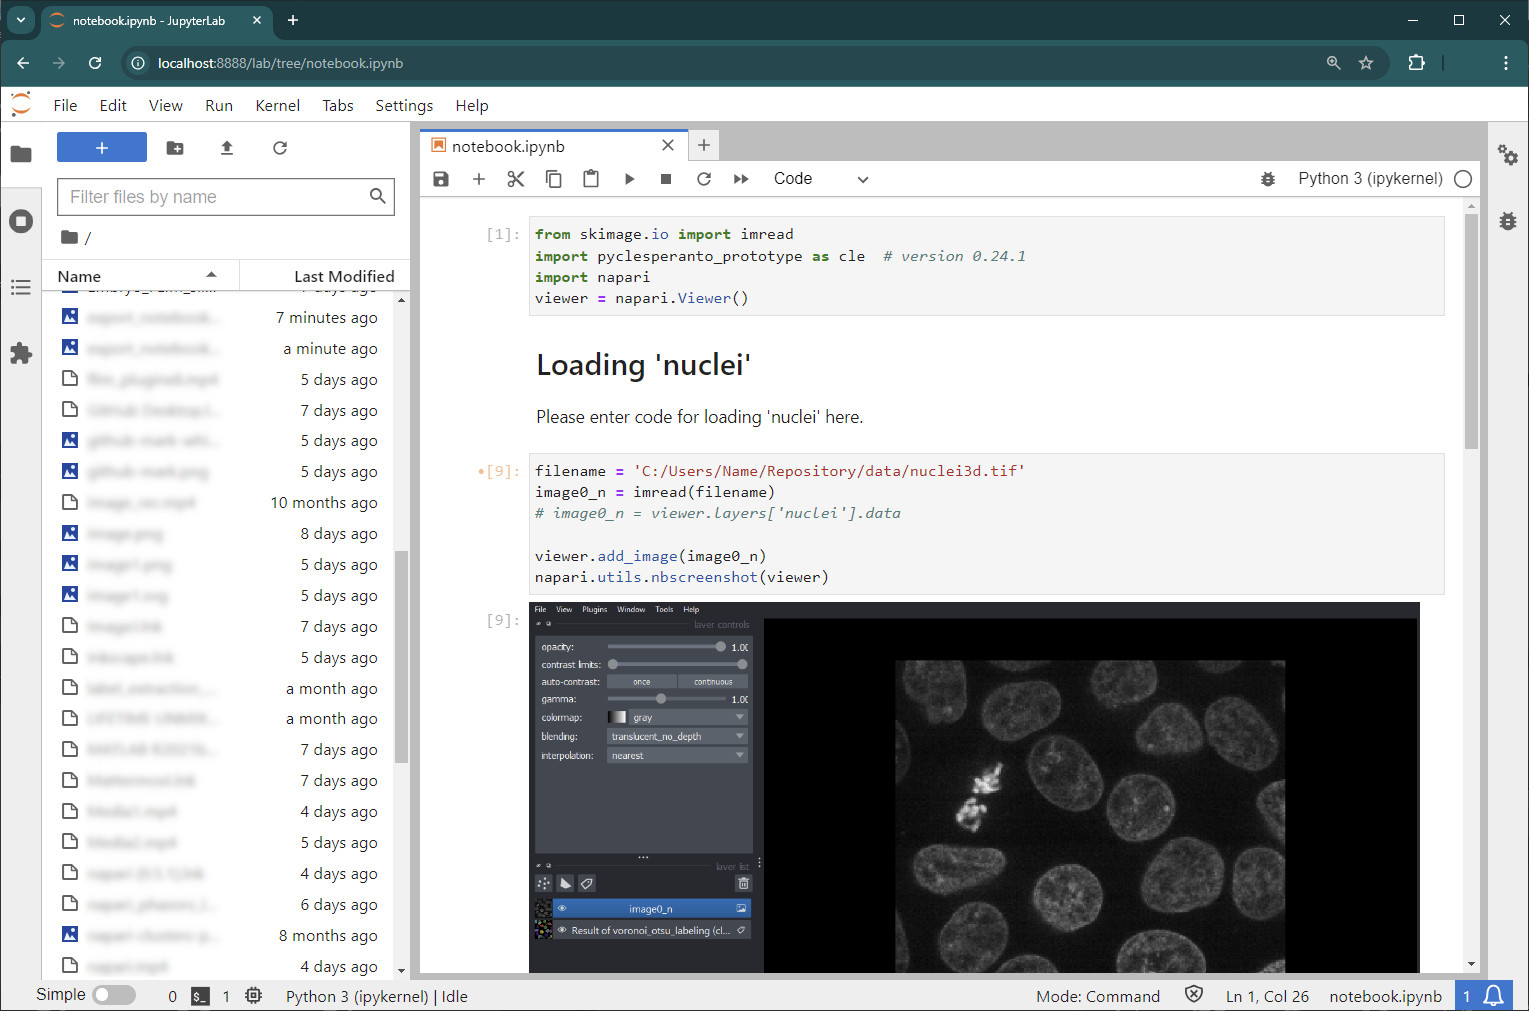
Rerun the notebook, or modify the order of layers manually in the Napari viewer. At the end it should look like this.
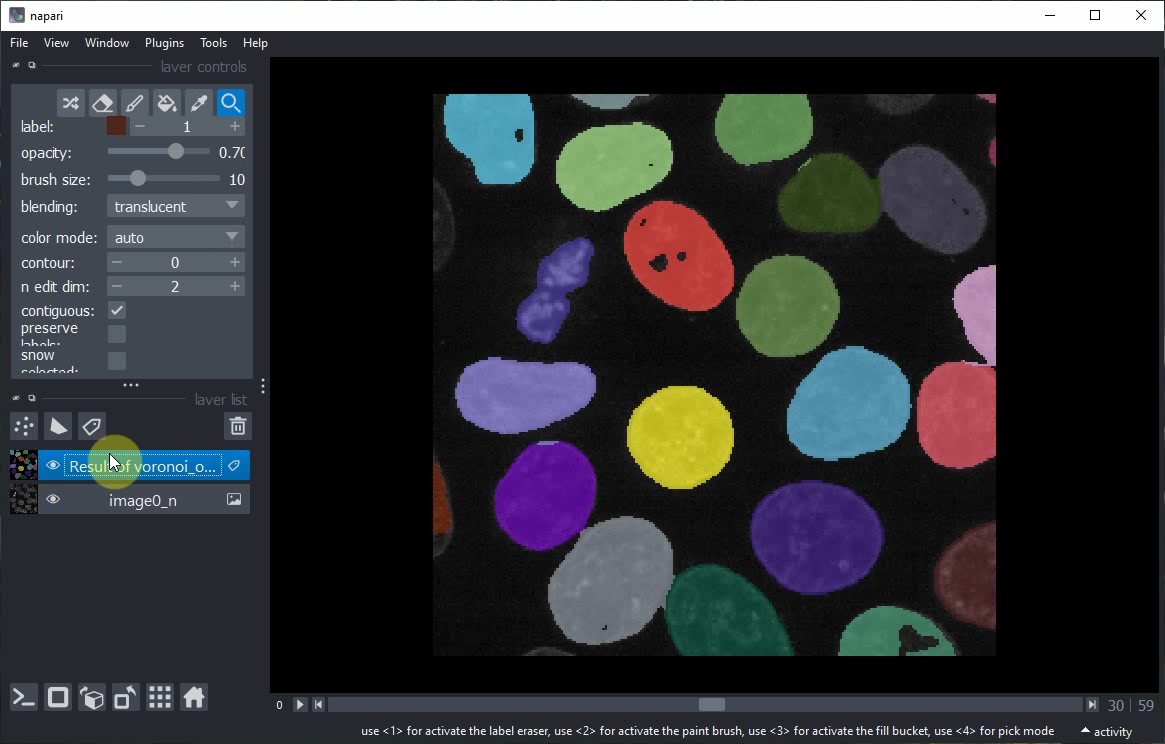
Voilà! You have now generated a Jupyter Notebook from a Napari Assistant workflow. This notebook documents your work reproducibly and can be shared with others.